
관리 메뉴

Scientia Conditorium
[C++] 이중 map - map 안에 map 사용하기 본문
[C++] 이중 map - map 안에 map 사용하기
출처 : https://en.cppreference.com/w/cpp/container/map
std::map 정의
template <
    class Key,
    class T,
    class Comprae = std::less<Key>,
    class Allocator = std::allocator<std::pair<const Key, T>>
 > class map;
std::map은 고유 키가 있는 키-값 쌍을 포함하는 정렬된 컨테이너 입니다.
키는 Compare 함수 비교 기능을 사용하여 정렬되고, 검색, 제거 및 삽입에는 로그 복잡성을 가집니다.
맵은 일반적으로 red-black trees로 구현됩니다.
기본적인 사용법
#include <iostream>
#include <map>
#include <string>
#include <string_view>

void print_map(std::string_view comment, const std::map<std::string, int>& m)
{
    std::cout << comment ;
    // iterate using C++17 facilities
    for (const auto& [key, value] : m) {
        std::cout << '[' << key << "] = " << value << "; ";
    }
// C++11 alternative:
//  for (const auto& n : m) {
//      std::cout << n.first << " = " << n.second << "; ";
//  }
// C++98 alternative
//  for (std::map<std::string, int>::const_iterator it = m.begin(); it != m.end(); it++) {
//      std::cout << it->first << " = " << it->second << "; ";
//  }
    std::cout << '\n';
}

int main()
{
    // Create a map of three (strings, int) pairs
    std::map<std::string, int> m { {"CPU", 10}, {"GPU", 15}, {"RAM", 20}, };

    print_map("1) Initial map: ", m);

    m["CPU"] = 25;  // update an existing value
    m["SSD"] = 30;  // insert a new value
    print_map("2) Updated map: ", m);

    // using operator[] with non-existent key always performs an insert
    std::cout << "3) m[UPS] = " << m["UPS"] << '\n';
    print_map("4) Updated map: ", m);

    m.erase("GPU");
    print_map("5) After erase: ", m);

    std::erase_if(m, [](const auto& pair){ return pair.second > 25; });
    print_map("6) After erase: ", m);
    std::cout << "7) m.size() = " << m.size() << '\n';

    m.clear();
    std::cout << std::boolalpha << "8) Map is empty: " << m.empty() << '\n';
}
Output
1) Initial map: [CPU] = 10; [GPU] = 15; [RAM] = 20;
2) Updated map: [CPU] = 25; [GPU] = 15; [RAM] = 20; [SSD] = 30;
3) m[UPS] = 0
4) Updated map: [CPU] = 25; [GPU] = 15; [RAM] = 20; [SSD] = 30; [UPS] = 0;
5) After erase: [CPU] = 25; [RAM] = 20; [SSD] = 30; [UPS] = 0;
6) After erase: [CPU] = 25; [RAM] = 20; [UPS] = 0;
7) m.size() = 3
8) Map is empty: true
위 기본적인 사용법에 더해 이중 map 즉, map 안에 map을 사용하여 보자!
#include <iostream>
#include <map>
#include <string>
#include <chrono>
#include <Windows.h>
// 테스트를 위한 enum class
enum class testFilter
{
eTest1,
eTest2,
eTest3,
eTest4,
eTest5
};
int main()
{
// 기본적인 map 생성 방법
// 여기서는 enum class와 int를 pair로 가지는 initialFilter를 생성
std::map<testFilter, int> initialFilter;
// 이중 map 생성 방법
// map 안에 Key와 Value 모두 pair를 가지는 형태
// enum class와 std::string이 pair인 Key와
// int와 시간 측정 변수가 pair인 Value를 가지는 이중 map
std::map<
std::pair<testFilter, std::string>,
std::pair<int, std::chrono::steady_clock::time_point>
> checkMap;
// 초기 map에 Key와 Value 대입
// operator[]가 기존에 없었다면 map에서 자동으로 새롭게 추가
initialFilter[testFilter::eTest1] = 1;
initialFilter[testFilter::eTest2] = 2;
initialFilter[testFilter::eTest3] = 3;
// auto 키워드를 이용하여 map 컨테이너의 모든 요소를 순회
for (auto iter = initialFilter.begin(); iter != initialFilter.end(); iter++)
{
switch (iter->first)
{
case testFilter::eTest1:
// 이중 map에서 데이터 삽입 방법
// Key pair와 Value pair 값들을 전부 입력하여 make_pair로 만들고 이를 insert
// Key에는 testFilter의 enum값에 대응하여 Test 문자열을 가지도록 구성
// Value에는 int와 함께 삽입할 때의 시스템 시간을 입력
checkMap.insert(
std::make_pair(
std::make_pair(iter->first, "Test1"),
std::make_pair(10, std::chrono::steady_clock::now())
));
break;
case testFilter::eTest2:
checkMap.insert(
std::make_pair(
std::make_pair(iter->first, "Test2"),
std::make_pair(20, std::chrono::steady_clock::now())
));
break;
case testFilter::eTest3:
checkMap.insert(
std::make_pair(
std::make_pair(iter->first, "Test3"),
std::make_pair(30, std::chrono::steady_clock::now())
));
break;
default:
break;
}
}
Sleep(20); // 시스템함수로 20 ms 동안 잠시 정지
// 20 ms 이후의 현재 시간을 다시 기록
std::chrono::steady_clock::time_point checkTime = std::chrono::steady_clock::now();
// 기본적으로 이중 map 순회 방법은 아래와 같음
// 이중 map의 모든 Key, Value들을 다 입력하여 std::map<...>::iterator 로 반복자 생성
for (std::map<std::pair<testFilter, std::string>, std::pair<int, std::chrono::steady_clock::time_point>>::iterator it = checkMap.begin(); it != checkMap.end(); ++it)
{
//1) it->second map 컨테이너를 순회하면서 현재 입력된 곳에서 second
//2) 즉, std::pair<int, std::chrono::steady_clock::time_point>를 가리킴
//3) (it->second).second 2)줄의 pair에서 Value 값, 즉 이중 map 입력했을 때의 삽입 시간
//4) checkTime과 삽입했을 때의 시간을 비교하여 그 차이값을 int로 변환 (...count())
//5) (it->second).first 2)줄의 pair에서 Key 값, 즉 int
if (std::chrono::duration_cast<std::chrono::milliseconds>(checkTime - (it->second).second).count() > (it->second).first)
{
// Sleep을 20ms만 했기 때문에 그 차이는 최대 20ms 따라서 Test2까지 출력됨
// (it->first) 이중 map에서 Key값 즉, std::pair<enum class, std::string>을 기리킴
// (it->first).second 위의 pair에서 Value 즉, 문자열
std::cout << (it->first).second << std::endl;
}
}
// map을 순회할때 위에처럼 하는 것은 너무 번거로운 짓
// 따라서 이럴 때에는 auto 키워드를 적극적으로 활용하자!
// 누가봐도 checkMap.begin() 처음부터 checkMap.end() 끝까지 순회한다는 것을 알 수 있음!
for (auto iterator = checkMap.begin(); iterator != checkMap.end(); ++iterator)
{
std::cout << iterator->first.second << " " << iterator->second.first << std::endl;
}
return 0;
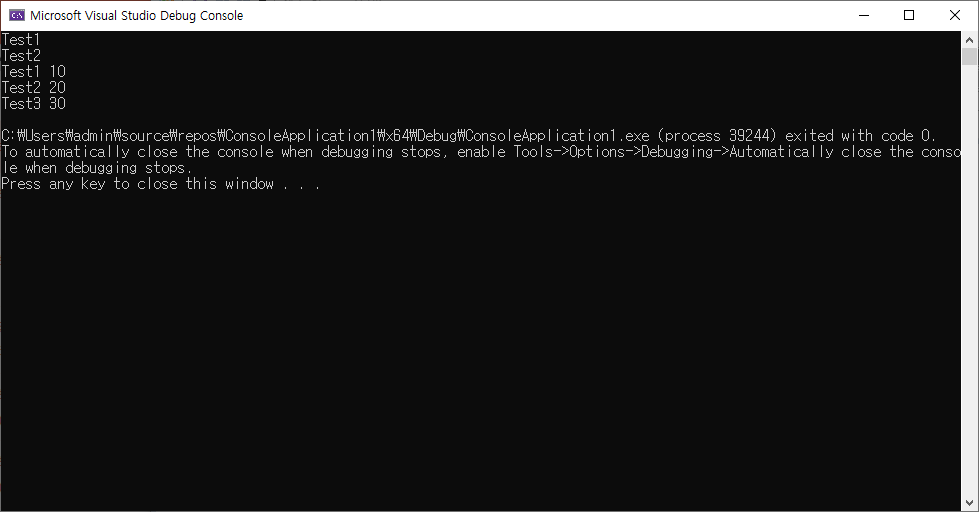
}Output
결과적으로 pair를 잘 활용하시면 이중이던 삼중이던 그 이상도 활용 가능합니다.
그러나 코드만 봐도 알 수 있듯이 무진장 더러워보입니다.
여기서 리팩토링을 해봅시다.
먼저 map에서 Key, Value 중에 Key 값은 고정이라는 점을 염두에 둡니다.
즉, 변하는 값들은 전부 Value에 몰아넣으면 된다는 것이죠.
따라서 4개의 변수들 중 3개를 struct 구조체로 새롭게 만듭니다.
이 구조체를 이용하면 굳이 이중 map을 안 써도 되고 훨씬 더 보기 좋습니다.
struct stValue
{
    std::string testName;
    int timeLimit;
    std::chrono::steady_clock::time_point checkTime;
};

// 맵 선언에서 굳이 make_pair보다 중괄호를 활용하면 좀 더 깔끔해집니다
std::map<testFilter, stValue> refactCheckMap =
{
    { testFilter::eTest1, { "Test1", 10, std::chrono::steady_clock::now() }},
    { testFilter::eTest2, { "Test2", 20, std::chrono::steady_clock::now() }},
    { testFilter::eTest3, { "Test3", 30, std::chrono::steady_clock::now() }}
};

// auto를 이용하여 for-each 문으로 더 보기 좋게 작성할 수 있습니다
for (auto& iter : refactCheckMap)
{
    int count = std::chrono::duration_cast<std::chrono::milliseconds>(checkTime - iter.second.checkTime).count();
    if (count > iter.second.timeLimit)
    {
        std::cout << iter.second.testName << std::endl;
        iter.second.checkTime = checkTime;
        // 여기서 stValue 구조체는 map에서 Value이니 값 대입도 수월합니다
    }
}
'프로그래밍 > C++' 카테고리의 다른 글
| [CMake] CMake란?! (0) | 2024.06.25 |
|---|---|
| [C++][Summary] Approaching C++ Safety - Bjarne Stroustrup (3) | 2023.08.23 |
| [C++] struct 와 class 의 차이점 (1) | 2022.09.17 |
| [C++] 이미지 파일 ↔ 바이너리 파일 변환하기 (0) | 2022.09.09 |